Free Shipping on Orders Over $50

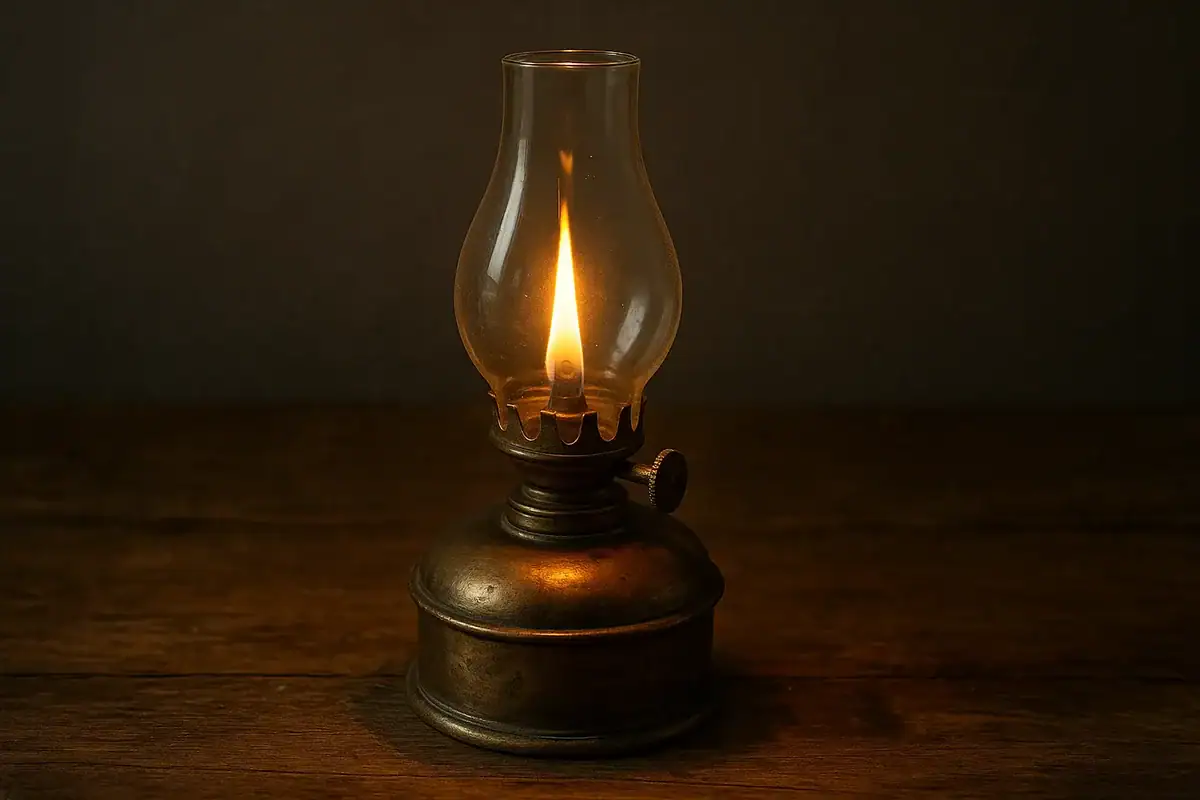
An oil lamp works with a wick soaked in oil that burns slowly, spreading a soft and steady light. To use it, simply fill the reservoir with suitable oil, light the wick, and then safely extinguish it once the flame is no longer needed. In this complete guide, we will detail how to light and extinguish an oil lamp, which oil to choose, how to maintain it, and what mistakes to avoid to fully enjoy it.
Contenus
afficher
What is an oil lamp and how does it work?
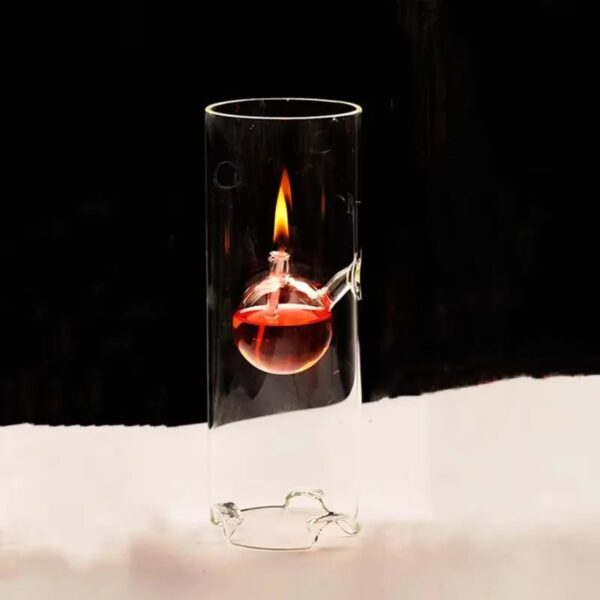
Laboratory Oil Lamp
$118.99
Select options
This product has multiple variants. The options may be chosen on the product page
Oval Oil Lamp
Price range: $6.99 through $9.99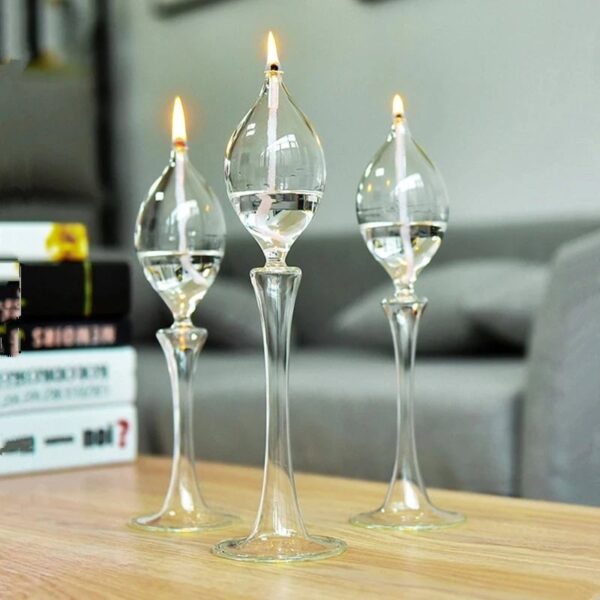
Select options
This product has multiple variants. The options may be chosen on the product page
Pedestal Oil Lamp
Price range: $76.99 through $81.99The oil lamp is a traditional lighting system used for millennia in homes, temples, and public spaces. Its principle is simple: a reservoir holds the oil, a wick absorbs the liquid by capillarity, and the combustion of this soaked wick produces a stable flame.
- Reservoir: holds the oil (glass, metal, ceramic depending on the model).
- Wick: usually made of cotton or natural fiber, it absorbs the oil.
- Combustion: the oil burns slowly, producing light and heat.
This sober and efficient operation makes it a popular choice today, both for decorative aesthetics and practical use.
How to light an oil lamp?
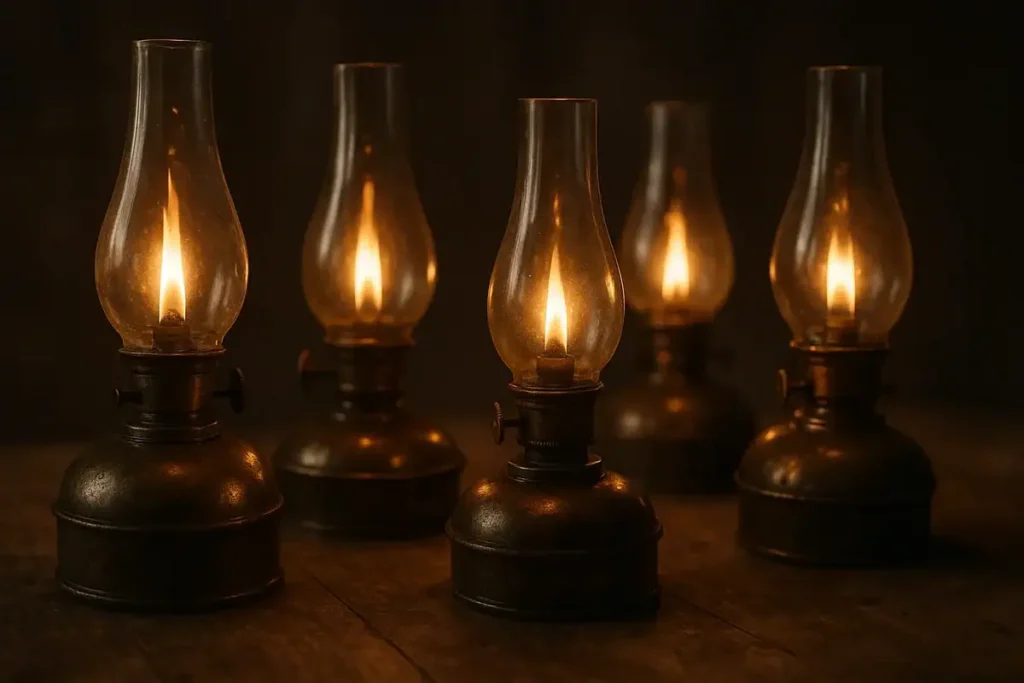
Prepare the lamp and fill the reservoir
First, place your oil lamp on a flat, stable, and heat-resistant surface, like a sturdy table or a stone slab. Keep it away from curtains, tablecloths, or any flammable materials. Check that the reservoir is clean, free from residues of previous combustions, and ensure the wick is in good condition (not frayed or too short).
Then, fill the reservoir with the chosen oil, making sure not to exceed two-thirds of the capacity. This helps avoid spills and leaves a safe space for heat and air. Wait 5 to 15 minutes for the wick to soak properly: a dry wick would burn too fast and might deteriorate from the first use.
Expert tip: if the wick is new, allow it to soak for several minutes before attempting to light it. Some users even pre-soak it in a small container of oil to ensure perfect absorption.
Light the wick safely
To light the lamp, use a long match or a stick lighter, which allows you to keep a safe distance between your hand and the flame. Absolutely avoid regular short lighters, which increase the risk of burns.
Never tilt the lamp while lighting it. An inclined position can cause oil to spill or produce an irregular flame. Slowly bring the heat source to the end of the wick: in a few seconds, it should ignite. If the wick does not catch, wait a bit longer for it to absorb more oil before trying again.
In the case of decorative lamps with a closed reservoir, some models have a cap or an adjustable burner: make sure to put it back in place after lighting to stabilize the flame.
Tips for maintaining a stable flame
Once the lamp is lit, several adjustments and precautions can help achieve a steady, smoke-free, and pleasant light:
- Adjust the wick length: let only 0.12 to 0.20 inch stick out. A wick that is too long produces a flame that is too bright and smoky, while a wick that is too short will extinguish quickly.
- Prefer pure and filtered oil (liquid paraffin, light olive oil, specially designed scented oils for lamps) to minimize soot and unpleasant odors.
- Protect the flame from drafts: place the lamp out of reach of an open window or a fan, as an unstable flame consumes more oil and extinguishes faster.
- Monitor the combustion: if the flame becomes too large or smoky, extinguish the lamp and trim the wick slightly before relighting.
With these simple actions, your oil lamp will provide a stable, warm, and safe light, perfect for a romantic dinner or outdoor ambiance lighting.
Additional tip: some lamps have a burner adjustment that allows you to adjust the wick height without cutting it. Feel free to use it to modulate the flame’s intensity according to your needs.
How to correctly extinguish an oil lamp?
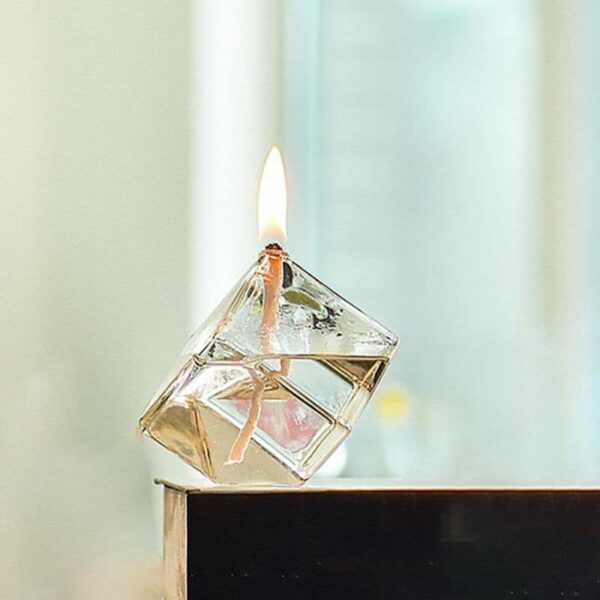
Square Oil Lamp
$28.99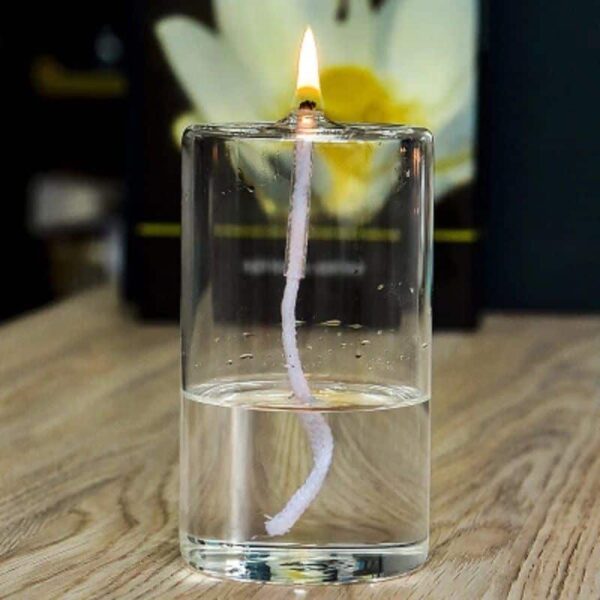
Select options
This product has multiple variants. The options may be chosen on the product page
Glass Oil Lamp
Price range: $26.99 through $34.99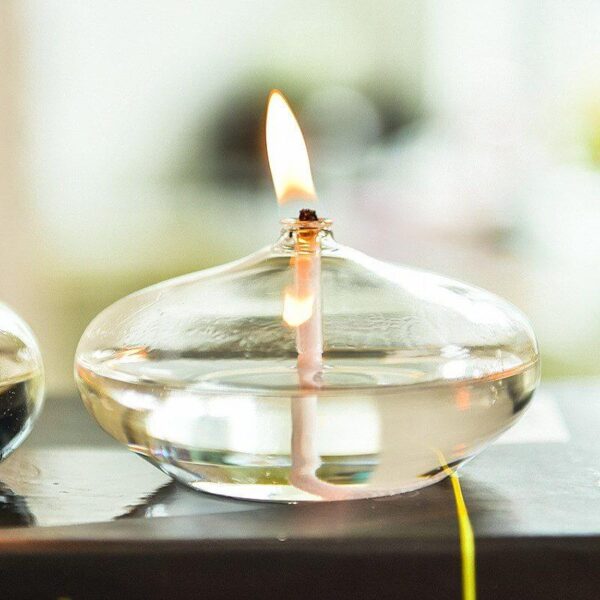
Pebble Oil Lamp
$25.99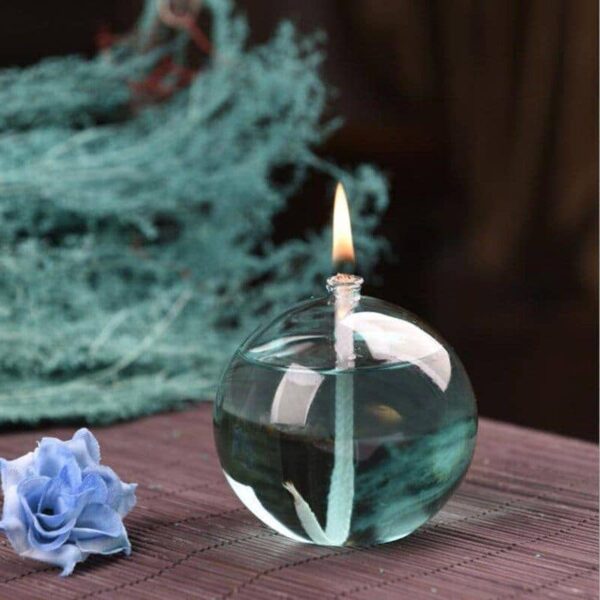
Round Oil Lamp
$28.99Traditional methods to extinguish the flame
There are several ways to extinguish an oil lamp, each with its advantages:
- Gently blow on the flame: the simplest and quickest method, but it can generate a slight puff of black smoke and spread soot particles.
- Use a metal snuffer: a conical or bell-shaped accessory, it cuts off the oxygen supply and extinguishes the flame without splashes or excessive smoke. This is the safest and cleanest technique.
- Cover with the intended cap: some models have a lid integrated into the burner that acts as a snuffer, ideal for daily use.
- Gradually lower the wick (if the system allows): by reducing the wick’s exposure to air, the flame extinguishes by itself. A gentle method, but only possible with certain lamps.
Expert tip: avoid dipping the lit wick into the oil to extinguish it. This clogs the wick, alters its combustion, and can cause splashing of hot oil.
Safety precautions after extinguishing
Once the flame is extinguished, a few precautions are necessary to avoid accidents:
- Let the lamp cool for 5 to 15 minutes before moving it. The metal parts and glass remain hot and can cause burns.
- Avoid extinguishing due to lack of oil: a wick burned dry deteriorates quickly, emits a strong odor, and becomes unusable faster.
- Check the immediate environment: ensure that no embers or lingering odors indicate residual combustion.
- Store the lamp away from fabrics, papers, or heat sources. Even when extinguished, it remains a flammable object if it still contains oil.
- Never leave the lamp accessible to children or pets, even after extinguishing: the reservoir contains a flammable substance that can be dangerous.
Maintenance after use
Proper maintenance after each use helps extend the lifespan of your oil lamp, preserve its aesthetics, and ensure clean combustion, with no excessive odor or black smoke. Here are the essential actions:
- Clean the outside with a soft, dry cloth to remove any oil drips. This prevents greasy stains, odors, and keeps your lamp pleasant to handle.
- Inspect the wick: if its tip is blackened, trim it slightly (0.04 to 0.08 inch). A wick that is too burned consumes more oil, emits smoke, and lights poorly.
- Check the oil level and top it up if necessary. A wick left dry between uses can harden, burn faster, and lose effectiveness.
- Regularly clean the reservoir: empty it completely every few uses, then wash it with warm soapy water or with a cloth slightly dampened with alcohol. This prevents the accumulation of deposits or oxidized oil that can alter the flame quality.
- Maintain the burner: remove soot and residues accumulated around the wick to ensure good air circulation and stable combustion.
Practical advice: if you use scented oils, consider cleaning the reservoir and wick more frequently, as they leave more residues than pure paraffin. Also, never overfill the reservoir to avoid spills and unpleasant odors.
In summary: extinguishing an oil lamp is not just blowing out a flame. It comes with small maintenance gestures that ensure both safety, durability, and quality of lighting.
Which oil to use for an oil lamp?
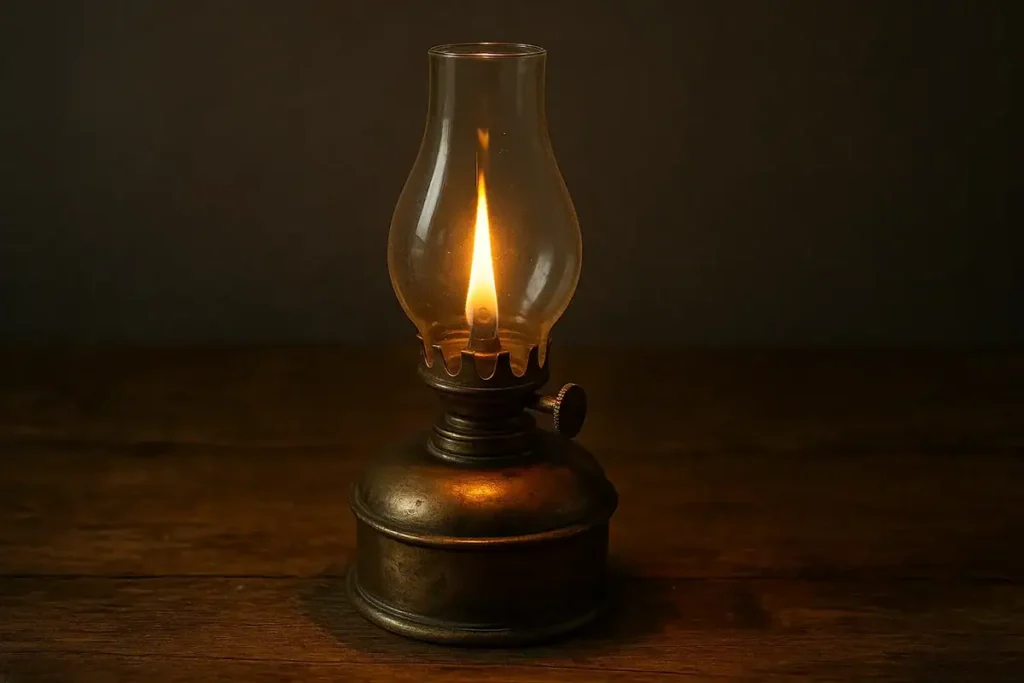
The choice of oil is essential for enjoying a stable, clean, and safe flame. Historically, oil lamps used only vegetable oils, but today, modern fuels like liquid paraffin offer more comfort and safety. Each type of oil has its specifics.
Traditional oils: olive, rapeseed, walnut
Vegetable oils have accompanied the history of oil lamps since ancient times:
- Olive oil: widely used in Mediterranean countries, it produces warm and natural light. However, it can emits a persistent odor and produce some smoke.
- Rapeseed oil: more economical, it burns well but offers slightly lower brightness. It is appreciated for its accessibility.
- Walnut oil: once common in some regions, it gives off a stable flame but may have a pronounced odor and can rancid more quickly if not stored properly.
These oils are interesting for authentic or decorative use, but they have some disadvantages in terms of modern comfort.
Modern oils: liquid paraffin, scented oils
With the evolution of uses, other alternatives are favored:
- Liquid paraffin: the most common fuel today, it is odorless, safe, and produces very little smoke. Its combustion is steady, making it an ideal choice for everyday indoor use.
- Scented oils designed for lamps: these are made to combine lighting and olfactory ambiance, emitting scents like lavender, vanilla, or citronella (which also acts as a mosquito repellent). They are, however, more expensive and require more frequent maintenance of the wick and reservoir.
These modern options prioritize comfort, cleanliness, and ease of use, making them suitable for the majority of domestic applications.
Comparison of different oils
| Oil Type | Safety | Odor | Brightness | Burn Time | Average Price |
|---|---|---|---|---|---|
| Olive Oil | Good, natural | Noticeable vegetal smell | Warm and soft light | Fairly long | €€ |
| Canola / Walnut Oil | Fair | Slight odor, sometimes rancid | Decent but less intense light | Moderate | € |
| Liquid Paraffin | Very safe | Odorless | Clear and steady light | Long | €€ |
| Scented Oils (lamp-specific) | Safe if designed for this use | Pleasant fragrance (lavender, vanilla, etc.) | Steady light | Moderate to long | €€€ |
Recommendation: for everyday use, opt for liquid paraffin. For decorative use or a sensory atmosphere, choose a scented oil, but anticipate more regular maintenance of the reservoir and wick.
Avoid: never use alcohol, gasoline, or unfiltered cooking oils (sunflower, peanut, etc.), as they are flammable, dangerous, and unsuitable for oil lamps.
Practical cases, expert advice, and mistakes to avoid
The oil lamp is not just a decorative object: when used properly, it adapts to many contexts. Indoors, it spreads a soft and dim light, perfect for creating a cozy atmosphere during a romantic dinner or for replacing candles in an elegant decor. Outdoors, it proves equally useful: portable and autonomous, it easily illuminates a terrace, garden, or campsite without relying on an electrical source. Some models, more robust, are even designed to withstand wind and extend summer evenings.
Experts also recommend personalizing the experience by using scented oils specifically designed for lamps. Lavender or vanilla brings a calming touch, while citronella plays a dual role: creating a friendly atmosphere while naturally repelling mosquitoes. This versatility makes the oil lamp a both aesthetic, practical, and sensory object.
But to fully enjoy its benefits, it is essential to avoid certain common mistakes. The choice of fuel is crucial: never use unfiltered cooking oils or alcohol, which present risks of harmful fumes or even explosion. The length of the wick is also a key factor: too short, it will extinguish almost immediately; too long, it will produce unpleasant black smoke. Finally, the most important rule remains vigilance: never leave a lit oil lamp unattended. Like any open flame, it must be constantly supervised to ensure safe use.
In summary: when well chosen, properly maintained, and used cautiously, the oil lamp is an ideal ally for creating unique atmospheres, whether indoors or outdoors, while adding a touch of tradition and authenticity to your lighting.
FAQ: answers to common questions
Is an oil lamp economical?
Yes. With an average reservoir, a lamp can burn for several hours while consuming very little oil.
Can you make an oil lamp yourself?
Yes, with a glass jar, a cotton wick, and vegetable oil. However, store-bought models are safer.
What’s the difference between an oil lamp and a candle?
The oil lamp lasts longer and produces a more stable light than a candle. It is also more economical over time.
How long does a filled oil lamp last?
On average, a 3.4 fl oz reservoir provides 6 to 8 hours of combustion, depending on the size of the wick and the oil used.
Conclusion
The oil lamp is a decorative and practical object that combines tradition and efficiency. By choosing the appropriate oil, following safety precautions, and properly maintaining your lamp, you will enjoy warm and lasting light, both indoors and outdoors.