Free Shipping on Orders Over $50

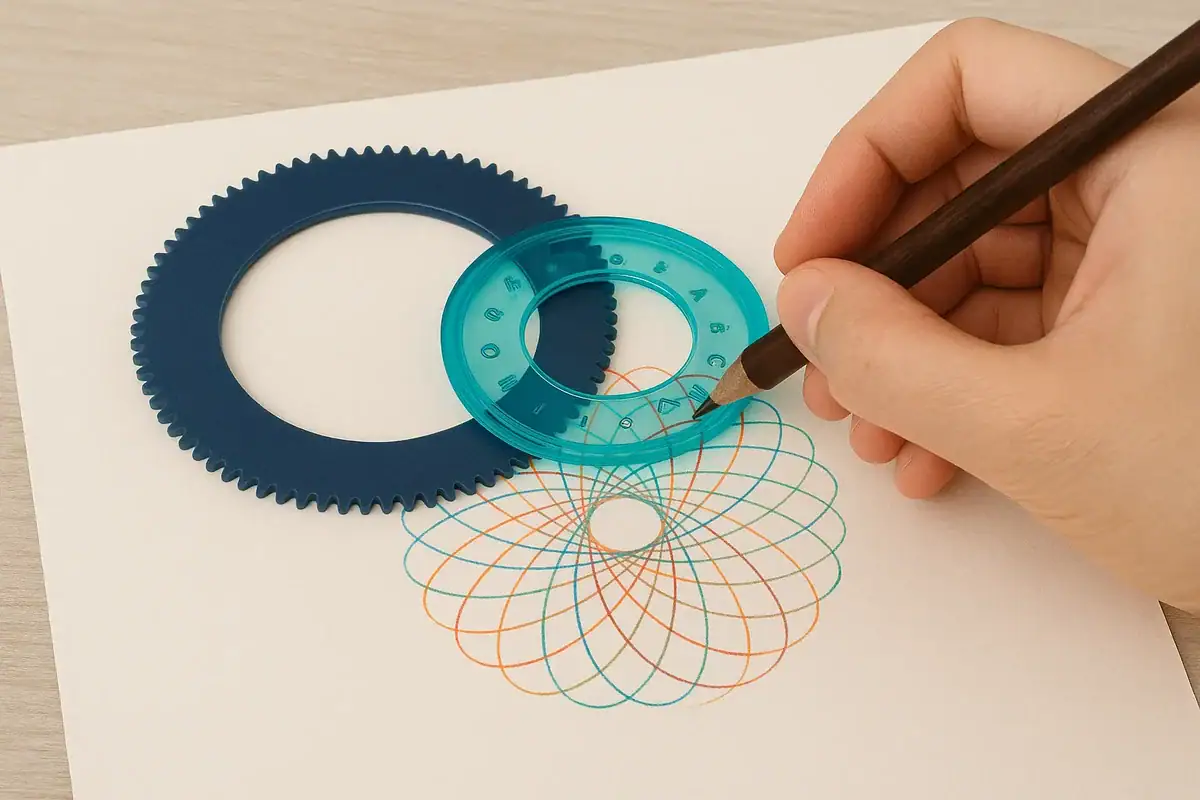
A spirograph is used by placing a gear wheel inside or around a fixed template, then guiding a pen along the notches. With just a few moves, you can create fascinating geometric patterns. Accessible to both children and adults, it is both a fun, educational, and artistic tool. In this guide, discover how it works, the steps to use it correctly, advanced techniques, and common mistakes to avoid.
Contenus
afficher
What is a spirograph?
Select options
This product has multiple variants. The options may be chosen on the product page
Select options
This product has multiple variants. The options may be chosen on the product page
Classic Spirograph Set
$14.99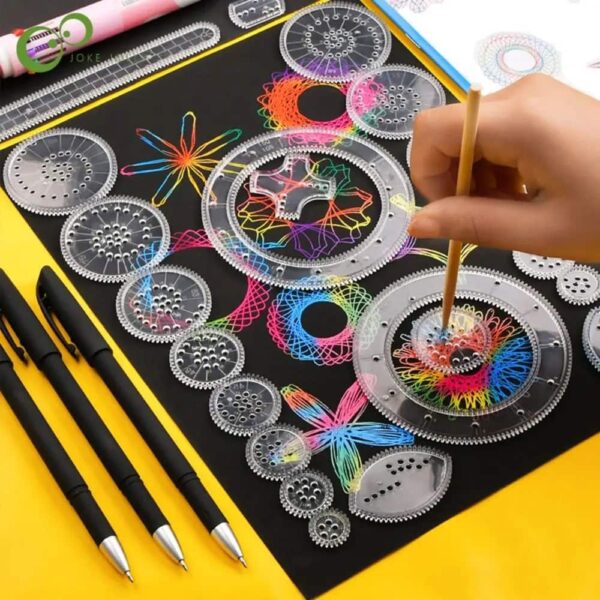
Select options
This product has multiple variants. The options may be chosen on the product page
Spirograph Mandala
$15.99The spirograph is a drawing game invented in the 1960s. It is based on the principle of the epicycloid, a curve generated by the rolling of a circle on another. Specifically, it consists of plastic gear wheels and circular or oval templates.
Its appeal lies in its ability to create symmetrical and complex patterns with great ease. This is why it attracts both curious children and geometry enthusiasts or artists seeking inspiration.
The necessary materials to get started
To get the most out of a spirograph, here’s what you’ll need:
- A complete spirograph kit (wheels, templates, retaining rings).
- Paper that is well secured to prevent slipping.
- Fine-tipped pens or markers (0.3 to 0.7 mm).
- A rigid support (table, board) for extra stability.
Additionally, you can use pens of various colors to enrich your creations or cardstock for a more durable finish.
How to use a spirograph step by step
1. Prepare your support
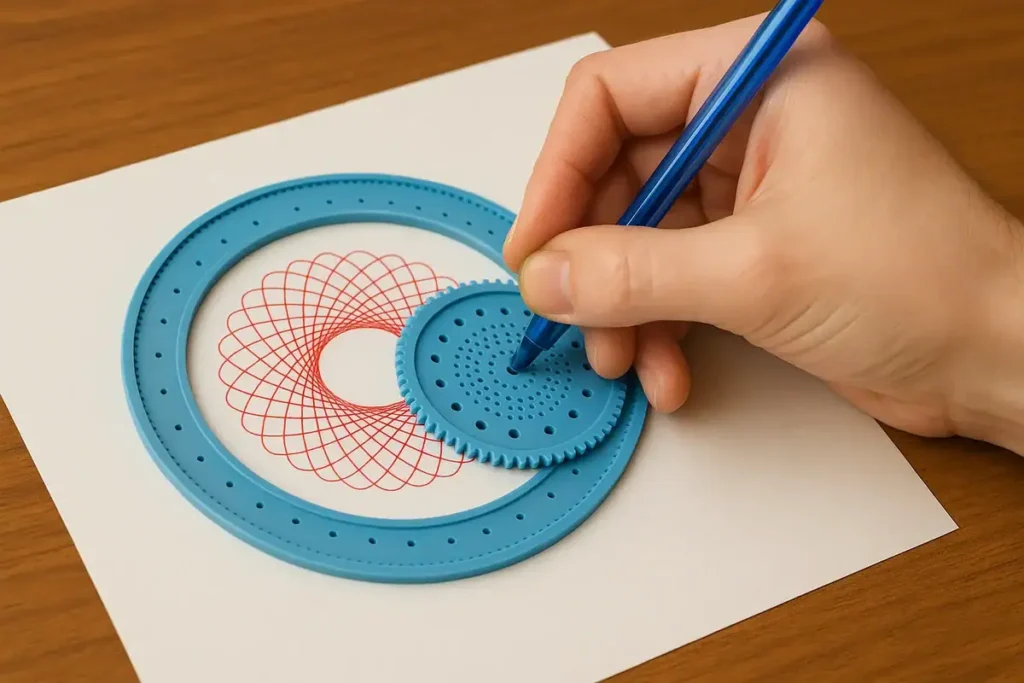
Before starting, make sure your sheet of paper is well secured. Use removable tape, a rigid notebook, or a drawing board. This step is crucial, as even the slightest slipping can destabilize the gear wheel and ruin the ongoing pattern.
Practical tip: opt for slightly thicker paper to prevent the ink from bleeding through or smudging.
2. Position the elements
Select the fixed template of your choice (circle, ellipse, or special shape) and lay it flat on the sheet. Then place a gear wheel either inside or outside of this template. The choice of positioning will determine the overall shape of the drawing.
- Inside the template: patterns are generally compact and floral.
- Outside the template: lines are broader and more dynamic.
3. Insert the pen
Choose one of the holes in the gear wheel to place your pen. Each hole is designed to generate a unique pattern. The closer the hole is to the center, the smaller and tighter the drawing will be. Conversely, a hole near the outside will create a broader pattern.
Tip: test several holes on a scrap sheet before starting your final drawing.
4. Draw the pattern
Hold your pen firmly and smoothly turn the wheel, without interrupting the stroke. Move slowly and steadily to maintain symmetry. If you feel the wheel catching, ease off the pressure rather than forcing it.
The drawing forms automatically before your eyes, revealing the beauty of geometric curves.
5. Experiment
Once a first pattern is complete, unleash your creativity:
- Change colors to add vibrancy and depth.
- Alternate holes to vary the effects on the same pattern.
- Try other wheels or templates to multiply combinations.
Each variation brings a new visual surprise, making each creation unique.
Advanced techniques and creativity
Once the basics are mastered, the spirograph becomes a true laboratory for artistic experimentation:
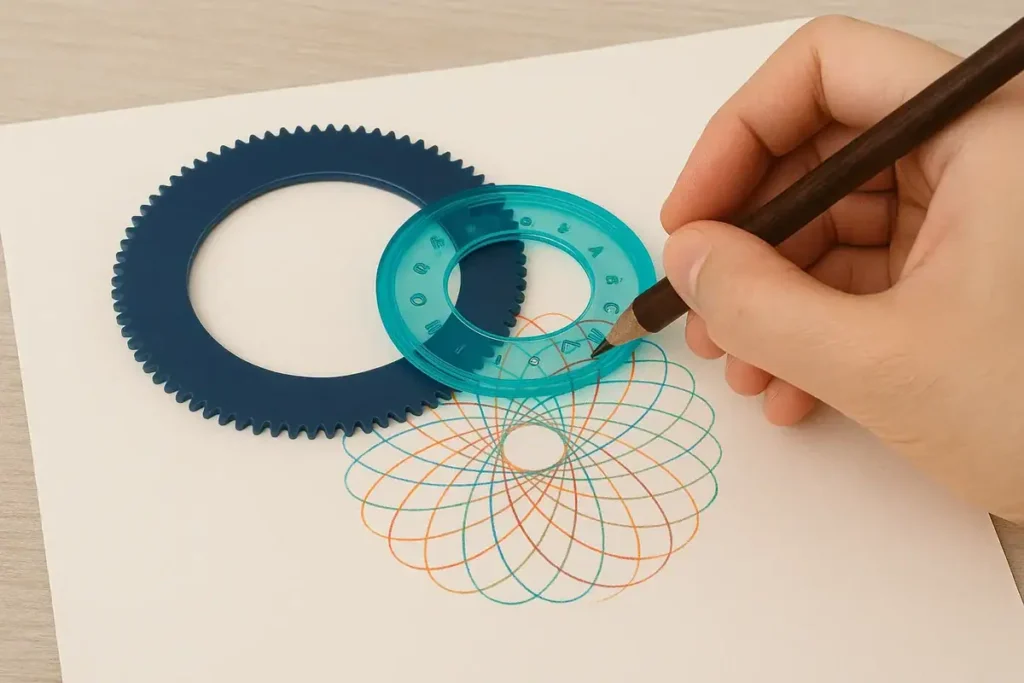
- Layering strokes: create a first pattern, then make another by changing holes, wheels, or colors. The crossing of lines creates a hypnotic effect.
- Playing with colors: combine 2 to 3 complementary shades to obtain harmonious gradients. Glitter or fluorescent pens work particularly well.
- Integration into creative projects: use your spirographs to decorate greeting cards, embellish a bullet journal, or personalize posters and notebooks.
- Mixing techniques: combine your strokes with watercolor to color the inside of the patterns, or add collages to enrich the composition.
Expert tip: a spirograph drawn with a white or metallic gel pen on black paper produces a result worthy of a professional graphic work.
Practical cases and expert advice
Accompanying a child
The spirograph is an ideal tool to stimulate the creativity of younger children. Start with simple wheels and let the child explore different strokes. Encourage them to change colors regularly to develop their artistic sense. The goal is not perfection, but the joy of watching fascinating shapes emerge. It is also an excellent exercise for fine motor skills and concentration.
Using the spirograph in education
Beyond just a game, the spirograph is a powerful educational tool. It allows you to address concepts of:
- Symmetry and balance of shapes.
- Applied geometry (circles, epicycloids, hypotrochoids).
- Visual mathematics: understanding the relationships between diameter, circle, and curves.
It makes learning concrete and fun, transforming abstract concepts into tangible drawings.
Examples of creative projects
- Create original mandalas by layering multiple strokes.
- Decorate a bullet journal with unique and personalized patterns.
- Produce visuals for scrapbooking, greeting cards, or posters.
- Create decorative patterns for notebooks, wrappings, or even textiles.
These projects show that the spirograph is not reserved for children: it can be integrated into true artistic and craft creations.
Comparison table: spirograph vs other creative tools
| Tool | Principle | Difficulty | Educational Value | Average Price |
|---|---|---|---|---|
| Spirograph | Toothed wheels and geometric patterns | Easy to moderate | Symmetry, creativity | 10-30 € |
| Compass | Circles and arcs | Easy | Mathematics, precision | 5-15 € |
| Coloring Mandala | Pre-drawn patterns to fill in | Very easy | Relaxation, focus | 5-10 € |
| Drawing Software | Computer-assisted digital creation | Moderate to difficult | Versatility, technique | 0-50 € |
Mistakes to avoid with a spirograph
- Forcing the pen: this makes the wheel slip.
- Forgetting to secure the sheet: the drawing will lose precision.
- Choosing the wrong pen: tips that are too thick or dry ruin the line.
- Going too fast: patience is key to obtaining regular patterns.
FAQ: frequently asked questions about using the spirograph
From what age can a spirograph be used?
A child can start as early as 6-7 years old, provided they are accompanied to avoid frustration at the beginning.
What types of pens work best?
Fine ballpoint pens or fine markers (0.3 to 0.7 mm) are ideal. Colored gel pens create spectacular effects.
Can you make a spirograph yourself?
Yes, it is possible to craft a model from cardboard or with a 3D printer. However, commercial kits offer better precision.
How to preserve and showcase your creations?
You can laminate your drawings, insert them into a frame, or use them for creative projects (cards, notebooks, posters).
Conclusion
The spirograph is much more than just a toy: it is a creative and educational tool. By following the steps outlined, anyone can create unique patterns, develop their creativity, and explore the beauty of geometric shapes. Whether you are a parent, teacher, or art enthusiast, it has a place in your activities.