Free Shipping on Orders Over $50
Making slime is much simpler than it seems: it just takes a few basic ingredients like glue, water, and an activator to create that elastic and colorful paste that kids love. For those seeking safer alternatives, there are also recipes without glue or borax, and even edible versions. In this article, you will find all the methods, tips, and mistakes to avoid to ensure your slime is a success on the first try.
Contenus
afficher
What is slime?
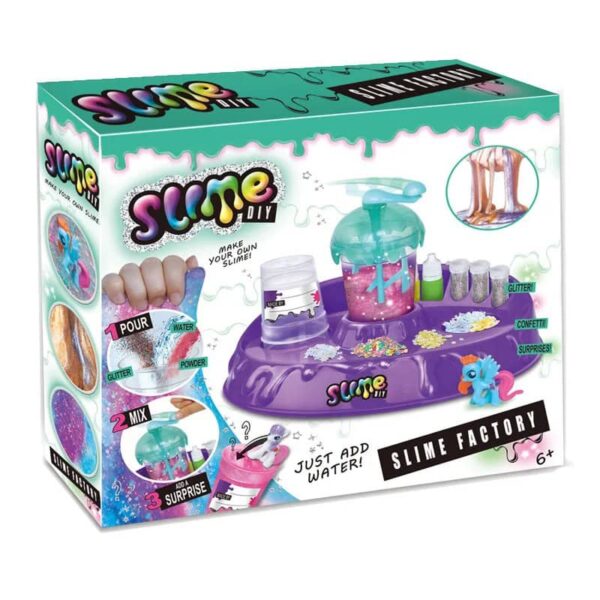
Unicorn Slime Kit
$72.99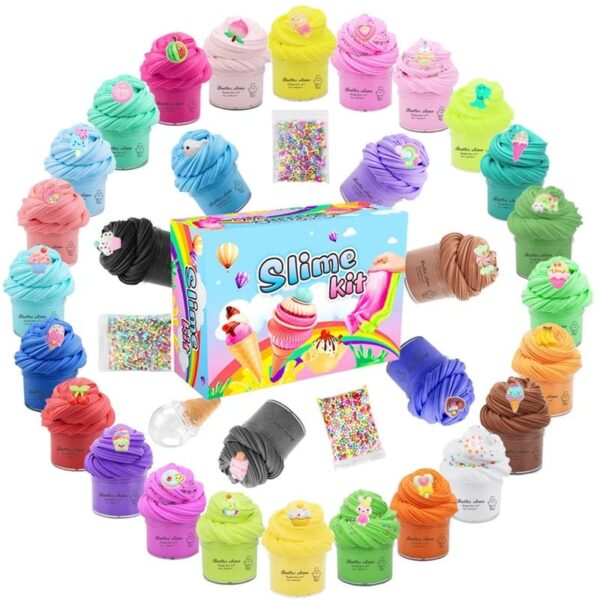
Slime Kit
$82.99Origin and popularity of slime
Slime is not a recent invention. Its history dates back to the 1970s, when a major American toy brand launched a viscous green paste sold in a small container. Far from being just a curiosity, it gradually established itself as a sensory play item in many households. Since the 2010s, the explosion of social media and video platforms like YouTube and TikTok has reignited its global success: millions of tutorials and “slime ASMR” videos accumulate views thanks to their hypnotic textures and fascinating visual appeal. Today, slime has become a true fashion phenomenon, mixing creative leisure, scientific experimentation, and playful activity.
Why is it so appealing to children and adults?
Slime appeals to all generations because it meets several needs:
- Sensory stimulation: its malleable texture responds to touch, its bright colors catch the eye, and its characteristic sounds of bubbling and cracking provide a “satisfying” auditory sensation.
- Natural stress relief: for adults, handling slime has a relaxing effect comparable to that of stress balls or hand yoga.
- Educational tool: children discover concepts of chemistry (reactions between glue and activator) and creativity (color mixing, textures, decorative accessories) through play.
- Intergenerational leisure: simple and inexpensive, it can be easily made at home and shared with family.
The different textures and styles of slime
There are now endless variations of slime, each with its unique characteristics and appearance. Fluffy slime, for example, is distinguished by its lightness and foamy quality thanks to the addition of shaving cream. Its airy texture makes it a soft and pleasant paste to handle, highly appreciated for its “cloud-like” feel.
Crunchy slime is another very popular variant. Enhanced with styrofoam beads, small pearls, or even thick glitter, it makes a fun cracking sound with every squeeze. Its appeal lies not only in touch but also in that auditory experience which makes it even more playful.
Glitter slime, shiny and colorful, is ideal for creative activities or parties. Its luminous appearance particularly appeals to children, but also to decoration enthusiasts who like to incorporate metallic pigments or micro-glitter to enhance the shiny effect.
Clear slime, similar to a crystal gel, is sought after for its pure and smooth appearance. It allows for easy incorporation of decorations like beads or small toys, creating an original visual effect that captivates the eye. Conversely, magnetic slime plays on scientific effects: infused with metal particles, it reacts to the presence of a magnet and appears to move in a “living” way.
Butter slime is a smoother and stretchier variant, achieved by adding light clay to the traditional mixture. Its soft and malleable texture resembles that of butter, making it perfect for spreading or molding. Lastly, glow in the dark slime is a phosphorescent version that glows in the dark due to special pigments. It’s highly appreciated during nighttime activities or parties, especially captivating children who adore its magical aspect.
These multiple slime styles show that this paste is not just a toy, but a true creative universe where everyone can experiment, invent their own recipes, and find the texture that suits them best.
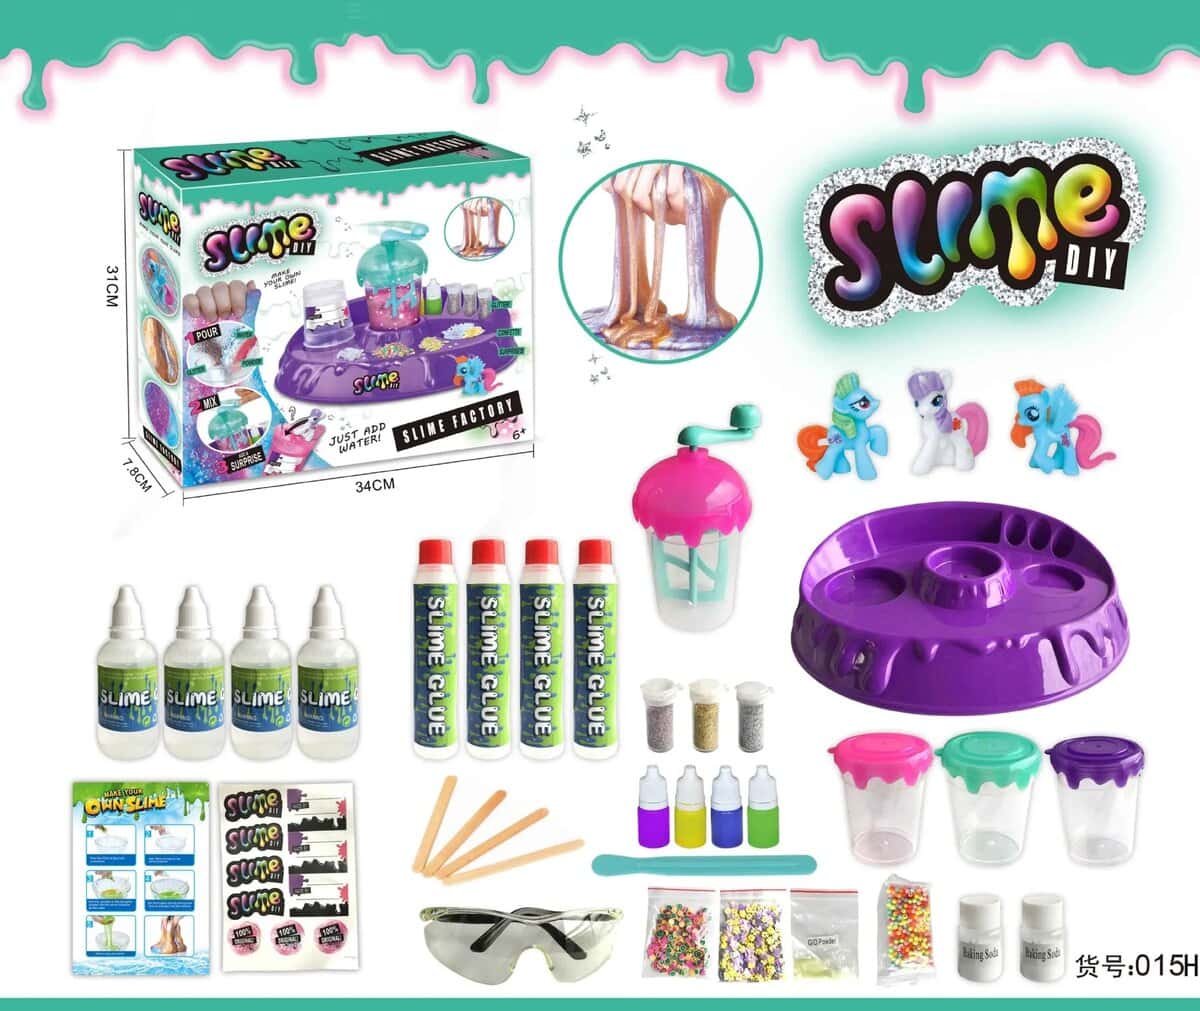
The necessary ingredients and materials
Select options
This product has multiple variants. The options may be chosen on the product page
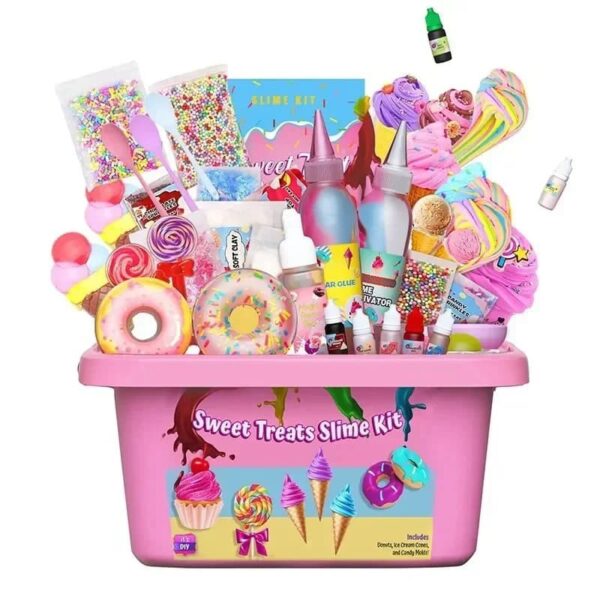
Crunchy Slime Kit
Price range: $9.99 through $22.99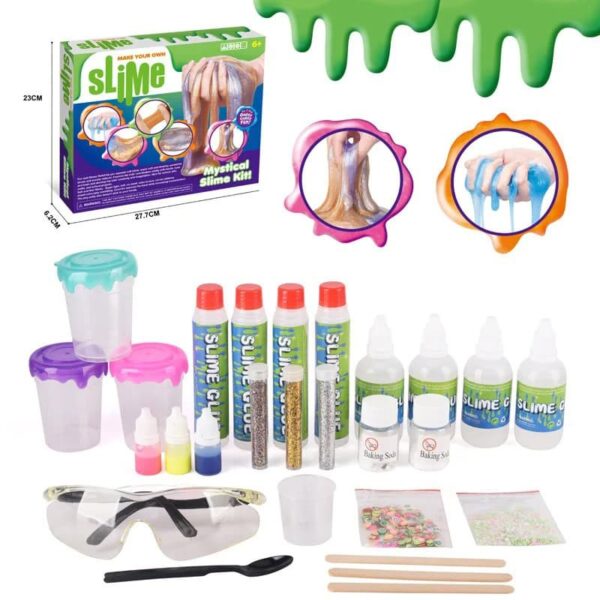
Essential bases
To successfully make homemade slime, certain ingredients are indispensable. They form the basic structure and ensure the proper consistency:
- White glue or clear glue: polyvinyl acetate (PVA) glue is the fundamental element of the recipe. White glue gives an opaque slime while clear glue achieves a crystalline appearance, ideal for glittery variants.
- Water: it helps to soften the mixture and adjust the texture. The more water, the more fluid the slime will be.
- Activator: it is what transforms the glue into elastic paste. The most commonly used options are diluted borax, contact lens solution containing sodium borate, or some liquid detergents. Their role is to induce the chemical polymerization reaction that gives slime its elasticity.
Optional ingredients
Once you have mastered the base, you can personalize your slime with creative additions:
- Food coloring or non-toxic acrylic paints: to achieve vibrant and original shades.
- Glitter, pearlescent pigments, or shiny powders: to provide a shimmering or metallic effect.
- Plastic beads, micro-balls, or styrofoam balls: they add texture and transform the paste into fun and crunchy crunchy slime.
- Shaving cream: the key ingredient for fluffy slime, which gives the texture airiness and softness.
- Light clay (like Model Magic): used for butter slime, which spreads like a spreadable paste.
- Phosphorescent pigments: to create slime that glows in the dark, highly favored by children.
Recommended materials
To handle the ingredients properly, it is advisable to use appropriate materials:
- Bowls or mixing dishes: preferably plastic or glass, easy to clean.
- Spoons, spatulas, or wooden sticks: for well-homogenizing the mixtures.
- Protective gloves: useful when handling borax or certain activators that may irritate the skin.
- Airtight containers: to store the slime and prevent it from drying out too quickly.
- Measuring sets (cups, measuring spoons): for accurately measuring the ingredients and obtaining a consistent texture.
Step by step slime recipes
Classic recipe with glue and activator
The traditional recipe is the most well-known and widely used in online videos. It relies on the chemical reaction between PVA glue and an activator such as borax or contact lens solution:
- Pour about 3.4 fl oz of white or clear glue into a bowl.
- Add 1.7 fl oz of water to soften the mixture, then stir well.
- Add a few drops of food coloring or acrylic paint if you want colored slime.
- Gradually incorporate the activator (borax solution or lens solution). Add it little by little while stirring continuously.
- The mixture will begin to pull away from the sides and form a soft ball.
- Knead by hand until you obtain a smooth, elastic, and non-sticky dough.
Tip: if the slime is still sticking, add a few more drops of activator. If it is too hard, add a little glue or water to soften it.
Recipe without glue or borax
Ideal for young children or parents looking to avoid chemicals, this recipe uses simple kitchen ingredients:
- Mix 2 tablespoons of cornstarch with 2 tablespoons of water.
- Stir until you obtain a paste that flows slowly when lifted but hardens under pressure: this is a non-Newtonian fluid.
- Add a few drops of dish soap to make it more flexible and give a foaming effect.
This slime is less elastic than the classic version, but it is 100% safe and remains very fun to handle.
Edible slime recipe
For the little ones, there are also completely harmless in case of ingestion slimes:
- Gummy candy version: melt a handful of gummy candies (like bears or marshmallows) in the microwave with a spoonful of coconut oil. Knead everything once warm until you get an elastic and sweet paste.
- Cornstarch and sweetened condensed milk version: mix 2 tablespoons of sweetened condensed milk with 2 tablespoons of cornstarch. You will get a soft, slightly sticky paste that is completely edible.
The result is less stretchable than classic slime, but perfect for a risk-free sensory activity.
Popular variants
Once the basics are mastered, it is possible to create slimes with amazing textures:
- Fluffy slime: incorporate shaving cream into the classic recipe to achieve a light and airy texture.
- Clear slime: use only clear glue and an activator for a crystalline appearance.
- Magnetic slime: add iron powder particles to create a slime that reacts to magnets, perfect for scientific demonstrations.
- Butter slime: mix light clay like Model Magic into your classic slime for a soft texture that spreads like butter.
- Glow in the dark slime: incorporate phosphorescent pigments or fluorescent paint for slime that glows in the dark.
These variants allow for endless customization of slime and transform a playful activity into a unique creative and sensory experience.
Comparative chart of slime recipes
| Recipe | Main Ingredients | Difficulty | Safety | Resulting Texture | Preparation Time | Shelf Life |
|---|---|---|---|---|---|---|
| Classic | Glue + water + activator | Moderate | Good with precautions | Elastic and firm | 10 min | 1 to 2 weeks |
| Glue-Free | Cornstarch + water | Easy | Very safe | Viscous and soft | 5 min | 1–2 days |
| Edible | Candy + coconut oil / Cornstarch + condensed milk | Moderate | 100% safe | Soft and sweet | 15 min | 1 day max (refrigerated) |
| Fluffy | Glue + shaving cream | Moderate | Safe with gloves | Light and fluffy | 10 min | 1 week |
| Magnetic | Glue + iron particles | Difficult | Requires precautions | Dense and reactive | 20 min | 1 to 2 weeks |
Practical cases and expert advice
How to succeed in making slime on the first try
Many beginners fail their first try because they add too much activator at once. The golden rule is gradual addition:
- Add the activator drop by drop while continuously mixing.
- Take the time to knead with your hands: it’s often at this moment that the texture homogenizes.
- Respect the basic proportions (approximately 1 part glue to 0.5 parts water and add activator drop by drop).
- Test the texture: if the slime pulls away from your fingers but remains soft, it’s a win.
Expert tip: always keep a small bowl of water nearby. Dipping your slightly wet fingers before kneading prevents the slime from sticking to your hands.
Adjusting the recipe according to the child’s age
Not all recipes are suitable for all ages. Here are some recommendations:
- Under 6 years: stick to recipes without glue or borax (cornstarch + water, edible slime). They are 100% safe.
- 6 to 10 years: classic slime can be attempted, but always under adult supervision. Prefer gentle activators (contact lens solution rather than pure borax).
- 10 years and older: all variants are possible, including magnetic or phosphorescent slimes. This is the ideal age to experiment and customize.
How to achieve a firmer or more liquid texture
The ideal texture depends on personal preferences and the intended use:
- Slime too liquid: gradually add a little more activator or knead longer.
- Slime too firm: incorporate a few drops of water or a drizzle of additional glue. A drop of baby oil can also restore flexibility.
- Slime sticking to fingers: let it rest for 5 to 10 minutes in a closed container. Time helps the chemical reaction balance out.
Mistakes to avoid when making slime
- Putting too much or not enough activator: too much activator will make the paste hard and brittle, not enough will leave it sticky. The secret lies in patience.
- Using dangerous or unsuitable ingredients: avoid alcohol, industrial glue, or irritating household products. Prefer common, non-toxic products.
- Neglecting hygiene and safety: slime is not a toy to eat (except for edible recipes). Wash your hands before and after, and avoid contact with your eyes.
Maintenance, storage, and safety
Well-maintained slime can last several days, even a few weeks:
- Store it in an airtight container or a zip bag to prevent it from drying out.
- Avoid exposure to heat or sunlight, which alters the texture and can make it sticky.
- Clean it regularly: remove dust or crumbs that may stick to it.
- Know when to throw away slime: if it becomes too hard, gives off an unpleasant smell, or changes color, it’s best to replace it.
Bonus tip: if you want to extend the life of your slime, add a few drops of moisturizing lotion or mineral oil. This prevents it from drying out too quickly.
FAQ: Answers to Frequently Asked Questions
Why is my slime too sticky?
Because it lacks activator. Add a few drops and knead it again.
Can you make slime without glue?
Yes, with cornstarch and water, you’ll get a playful and safe paste.
How long can slime be kept?
On average 1 to 2 weeks, provided it is stored in an airtight container.
Is slime dangerous for children?
No, as long as you use recipes suitable for their age and avoid irritating ingredients. Adult supervision is still essential.
Conclusion: a fun and educational creative activity
Slime is not just a fun, gooey paste; it is also an educational activity that develops fine motor skills, encourages creativity, and soothes with its relaxing effect. By choosing the right recipe and following a few safety rules, you can transform a simple experience into a friendly and enriching moment.